
USB pushbutton and USB pushbox – GUI download and installation
Installing and connecting the GUI for your USB pushbutton or USB pushbox is just as easy as using it. Just follow a few simple instructions.
Installing the GUI for your USB pushbutton or USB pushbox
- Unpack the USB pushbutton or USB pushbox and the mini CD included in the delivery.
- Insert the mini CD into your computer’s CD slot in order to install the programming GUI and the current quick start manual for configurations via command lines. Alternatively,download the quick start manual and the programming app on the product pages for the USB pushbutton and USB pushbox.
- Open the setup wizard on the mini CD or in your download folder in order to start the GUI setup.
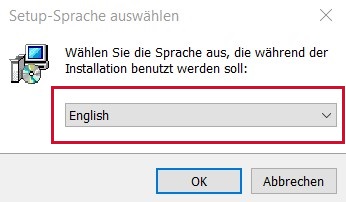
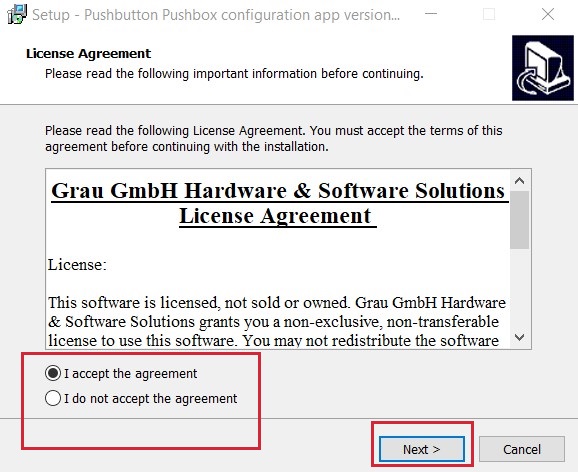
- Select the setup language and confirm your selection with OK. The setup wizard then opens a dialogue in which you can view, accept or deny the license agreement.
- Accept the license agreement by clicking on Next >.The setup wizard opens a dialogue in which you can select a destination location for your programme folder.
- If you agree with the suggested destination location, confirm this selection by clicking on Next >.

- If you want to select another destination location, determine it via the Browse button. Then click on Next >.The setup wizard opens a dialogue in which you can select a start menu folder. You can also activate or deselect the creation of a start menu folder.

- If you agree with the suggested start menu folder, confirm this selection by clicking on Next >.
- If you want to select another start menu folder, determine another one via the Browse button. Activate the field Don’t create a start menu folder if you do not want a start menu folder.
- Click on Next >. The setup wizard opens a dialogue in which you can activate or deselect the creation of a desktop shortcut.
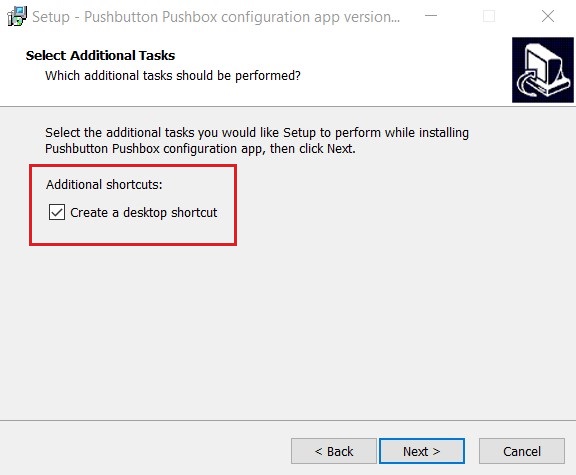
- Activate or deselect Create a desktop shortcut, then click on Next >.The setup wizard opens a dialogue which sums up the selected setup configurations.
- If you agree with the configurations, click on Install in order to start the GUI installation.
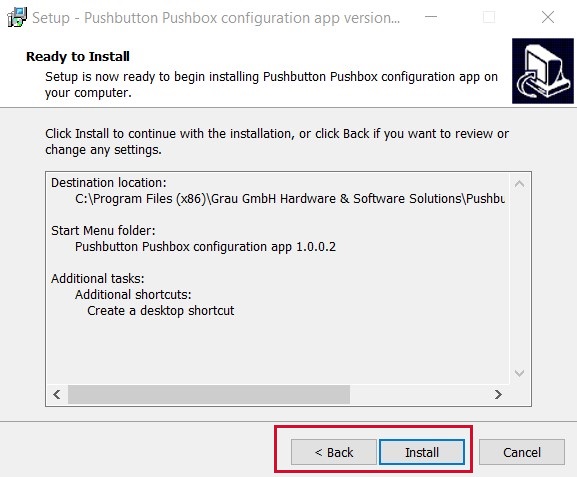
- If you want to change the settings, click on < Back, correct the settings in question and repeat all necessary processes. You can also cancel the entire setup process and start it from the beginning. Then click on Install. The setup wizard opens another dialogue which informs the user about the configurations set for the installation process.
- Click on Next > in order to start the installation. The setup wizard now installs the GUI in the selected destination folder.
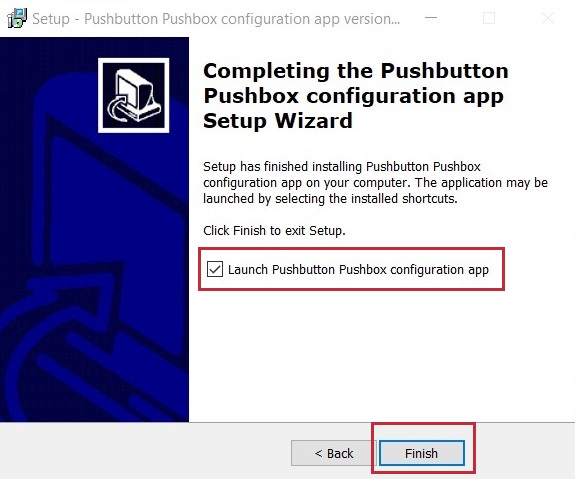
- In the next dialogue, complete the setup by clicking on Finish. Also activate or deselect a direct programme launch via the field Launch Pushbutton Pushbox configuration app.
Connecting your USB pushbutton or USB pushbox with the GUI
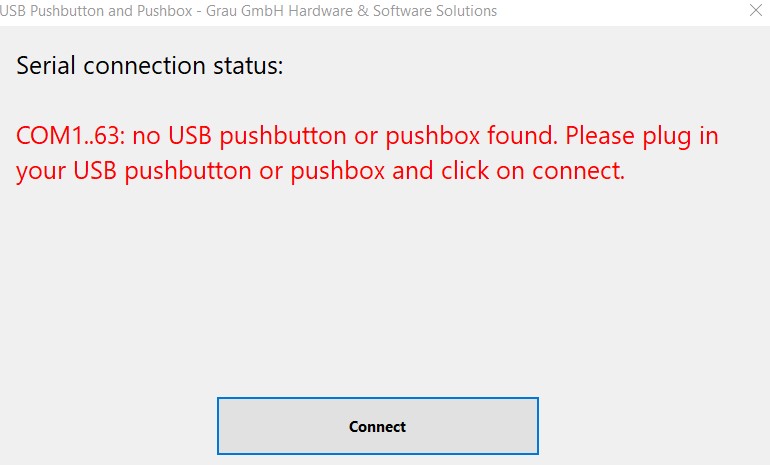
In order to start programming your USB pushbutton or USB pushbox with the GUI, you must plug in your USB module to your computer and connect it with the app. Follow the instructions below.- Start the GUI Pushbutton Pushbox configuration app on your computer. The GUI shows a dialogue which displays the serial connection status.
- Connect your USB pushbutton or USB pushbox to your computer by plugging it into an available USB port.
- Click on Connect in the GUI in the serial connection dialogue (see step 1). The GUI then displays your USB module’s current configuration in the main dialogue so you can start customizing it.